Showing posts with label Sculpting. Show all posts

Sunday, 27 October 2013

Honsou Of the Iron Warriors


I have been asked by a good friend to create Honsou from the Black Library series of books. 

He is for his brothers birthday, so it's gotta be a nice figure. 
Here's where I started, with legs from the new tactical boxed set, a Terminator chest stuck to a Power Armour back and some power cables, the head is a Blood Angels one with the flowing locks cut off. 
The next stages involved sculpting the belt and holster and tidy up. 
A quick check once I'd started the arms, the Necron arm is an Ork one with the hand turned 90* the axe is from one of the Chosen from the Dark Vengeance boxset. 
End result is this, pretty close to the artwork as close as I can get myself. 
He is all primered up and ready for paint over the next few days. 

Munky


Thursday, 19 January 2012

Tu Shan update

Hello once again, I must confess it's been another busy week so not much has happened on the hobby front but I have got a little more done on Tu Shan.
The scales on the loin cloth was a bit of a challenge but it's all about learning it for yourself.


I also started work on the cloak which is very challenging to get it smooth but a few coats of liquid green stuff should smooth the way, then it's time for some more scales.


This little piece was sculpted from a Space Wolf Thunderhammer and will sit on the top of the Terminator armour as decoration, what do you think?


The only other thing I have done is the first bit of shading on the Cyclone Terminator, but there is much more to go.
I should have some time this weekend to get more done so stay tuned for an update.

Munky Out

Saturday, 14 January 2012

Tutorials and cool stuff added to blog.

Hi everyone I hope you are all well!

I have been adding a little content to the Blog in the way of Tutorials I have done and seen over the years.
I know there is only a few now but I have loads to share, once I have checked the links are OK they will appear on the site, just browse off the menu bar at the top.

One of the tutorials I found only a week or two ago is of such a high standard that I just have to share it here as well.
It is by G.Schellert on his Blog here there are downloadable files of the articles he has produced.

Now the tools he describes and builds are of such a high quality and range that I personally will struggle to match his work, that aside it has inspired me to make some myself (although not as well finished as his!)

I am a novice sculptor and haven't really done much since my college days so I have a long way to go, but I was struggling to see how anyone could sculpt a models with conventional tools like these:


That's not to say that they aren't useful of course they are, but it struck me the other day that my problem was they are just too damn BIG! such a simple thought but ground breaking none the less.

After poring over Schellerts pdf I decided to make some myself, now I don't have all the wonderful tools he has but armed with some wire a steel block and a hammer I bashed some tools out and with some bending in a vice and polishing with 1200 wet and dry paper I had success.


The handles are old xacto knifes and with a little modification to the chucks (I drilled them out with a 1mm bit a little) my new tool fit.
Each tool tip is around 30mm long and just pops in the handle when needed.

So far they are proving to be much easier to get into the details on a model, I just need to learn how to use them to they fullest which will take time.

Any ways thanks once again to G.Schellert for a wonderful article.

In other news I have had little free time this week due to 4 viewings of our flat which meant everything had to be tidied up grrrrr!
But I have added some studs to the armour of Tu Shan, I will be doing a Tutorial on these soon to show you how I do it.
Excuse the bad pic it was taken on my Iphone, as usual any comments or suggestions are welcome.

Munky out and see you soon.

Wednesday, 11 January 2012

Happy New Year everyone!


Hello I hope you all had a nice hobby filled festive break, and I hope you got lots of chocolate hehe.
There are only a few tidbits I've been working on over the break, I couldn't get much done due to "man flu"
The first is the cartoon Tau you see above, the scheme is designed to be fast and manga-esque.
The colours are Astronomicon grey and Solar Macharius orange with a Brown ink wash in the details, I'm not 100% sure on it yet so any comments are welcome.


The second item is a test model for my Necrons, I always fancied copper as the colour for them with a Verdigris wash it looks pretty sweet.
The gun and glow colour is still undecided I went with Purple as it's my favorite colour but it doesn't really work that well, I may switch to the tried and tested green?
I also have done the mask in Rotting flesh and shaded with a little Terracotta to give the appearance of a Ceramic death mask, what do you think?


On the commission front I have begun painting the final Terminator to round out the squad here and give them all the available weapon options.

I have made progress on Tu-Shan and there are plenty of things to add to him like flames on the shins and scaled cloak and odds and ends, I have used Thunderhammers from Chapter House Studios and a spare Logan Grimnar Storn Bolter arm with Blood Angel's Melta pistol barrels to make his "fist of fire"


Anyway that's all for now and I hope to have more to show this weekend, we are still trying to find a buyer for our flat so things are just a little bit mental right now!
But it's all for the better because once the move is complete I will have so much more room to store my hobby stuff in one place thing's will be a great deal easier.

Any hoo

Munky out

Tuesday, 13 December 2011

Space Wolves and Salamanders Update

As you can see the Liquid Green Stuff worked really well once it was sanded back a little, his armour is much better and the cloak is great as well.
I also painted up the test Fenrisian wolf as well:
Fur - Bleached Bone
Skin - Astronomicon Grey
Muzzle - Dwarf Flesh
Then I washed the model with Gryphonne Sepia.
Then I washed the model with Ogryn flesh around the muzzle and ears and the fur edge.

Then a final wash or two of Delan Mud and Bhadab black along the top of the fur and around details.
Drybrush the fur Bleached Bone, and finish the base off and he is done.

I'm pretty pleased with how he came out and the ears look fine, just another 5 to go......cry!

And on a final note I have bashed this fella together as the next Salamander Terminator, he will round out the options for the squad I painted HERE.

That's all for now I should have more for you this weekend, as always comments are welcome.

Munky out.

Thursday, 1 December 2011

Lone Wolf and Friends.

Well here he is all finished, this is the first Terminator for my Space Wolves as well which is a cool milestone to have.
I enjoyed painting this guys as a single model, the rest of my Wolves have been painted in batches.
It was a nice break from the norm.
He is not alone I have started work on some Fenrisian Wolves made from Chaos warhounds, I cut all the spikes and general weirdness off and have tried to sculpt some ears and a tail on one as a test figure.
Please let me know what you think on the placement of the ears etc, any tips are seriously welcome too
I am still a novice when it comes to sculpting!
The pic below is an indication on their size compared to other models.

Sunday, 7 November 2010

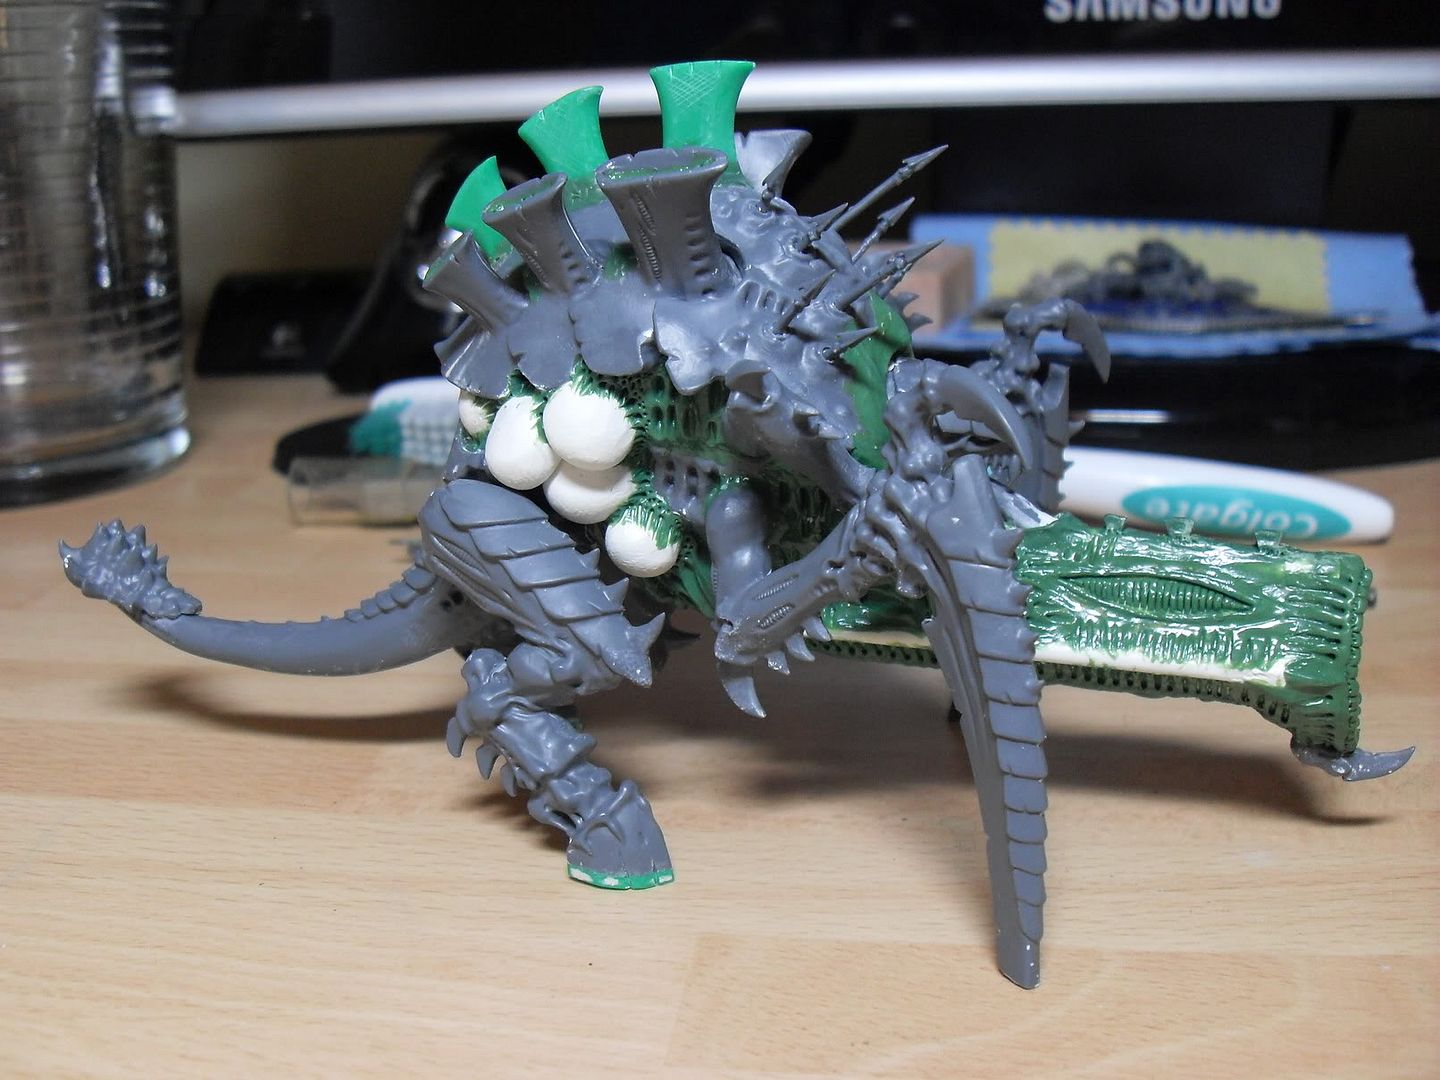
Tyrannofex sculpting complete...ready for paint.

From Tyranids

Finally I have this beasty finished!

It's ready for primer and then paint, I am once again using the modified Leviathan scheme seen HERE so at least you have some idea of how it will look, once it's primered I will fix any problem areas(it's easier to see when all once colour)

From Tyranids


Here is another picture for scale purposes, the base I made by copying the Trygon base and the detail on the ruined Rhino door was from the "how to paint tanks" book from GW.

I will be going into detail on some of the techniques I have learned from doing in a series of Tutorials in the near future.

Anyhoo I'l see ya soon after some frantic late night.........painting!

Saturday, 6 November 2010

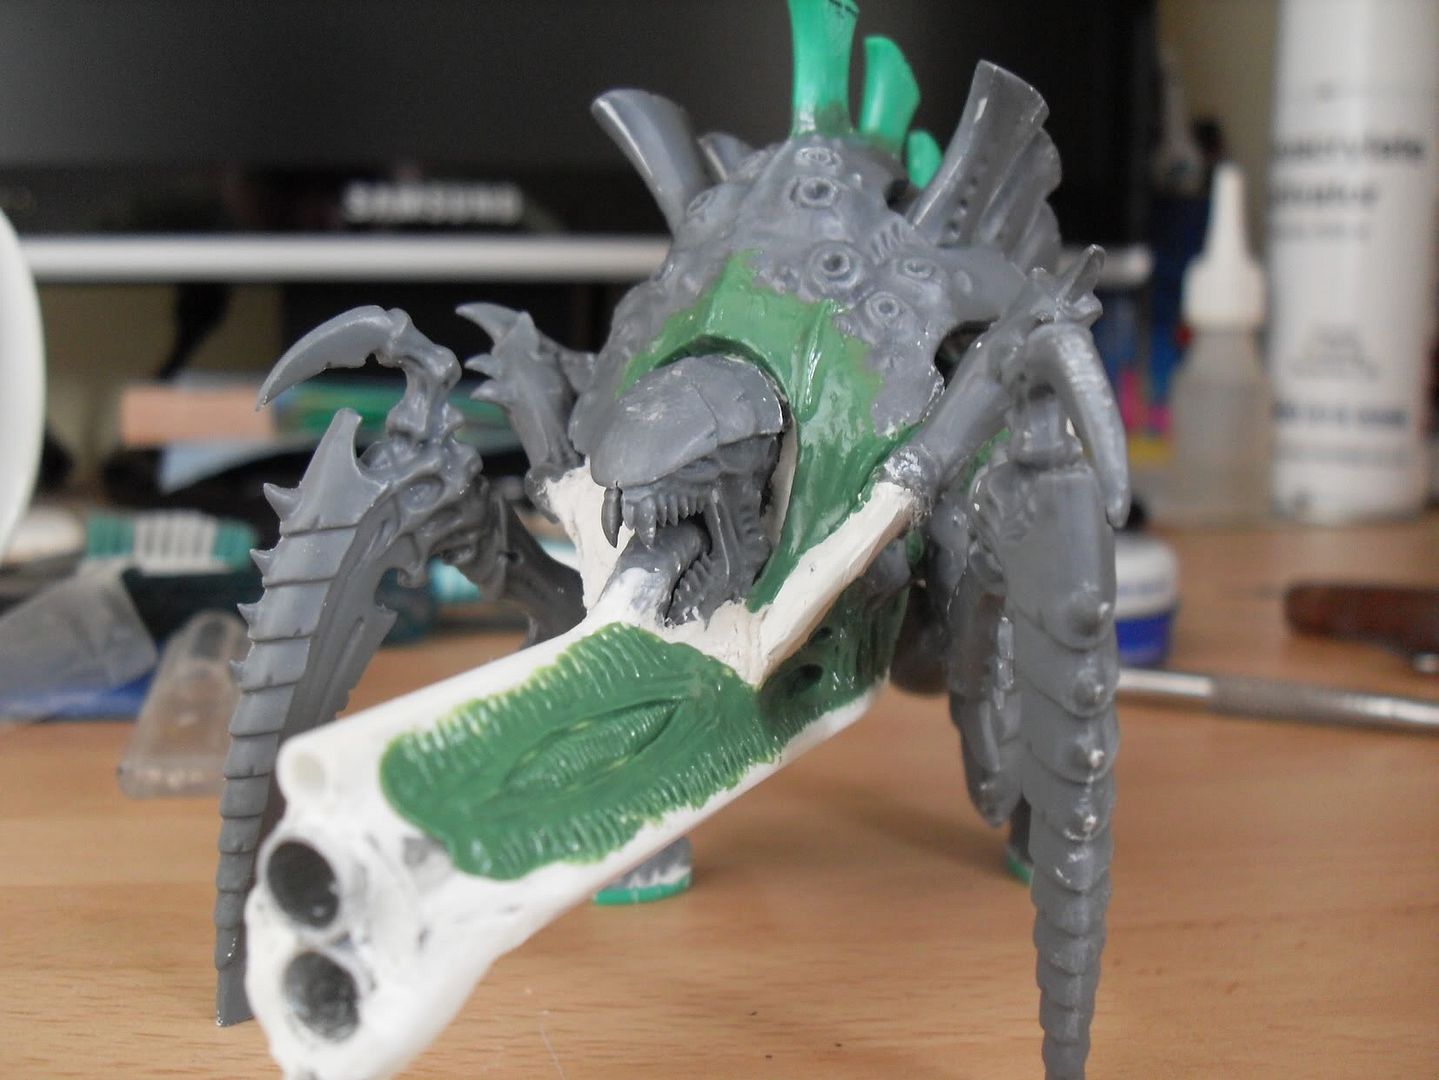
Tyrannofex part - 2

Hi Munky fans,
As you can see I have completed 99% of the sculpting and modelling on the T-fex, I'm just waiting on some ideas from the client as to the base and what he wants on it.
I am going to wait until the model is primered before I decide on what to do with the openings on the guns, that will allow me to see the model as a whole much easier.

This has been a tiring sculpt but I have learn't loads of new tricks whilst doing it and I reckon the next one will be much faster.
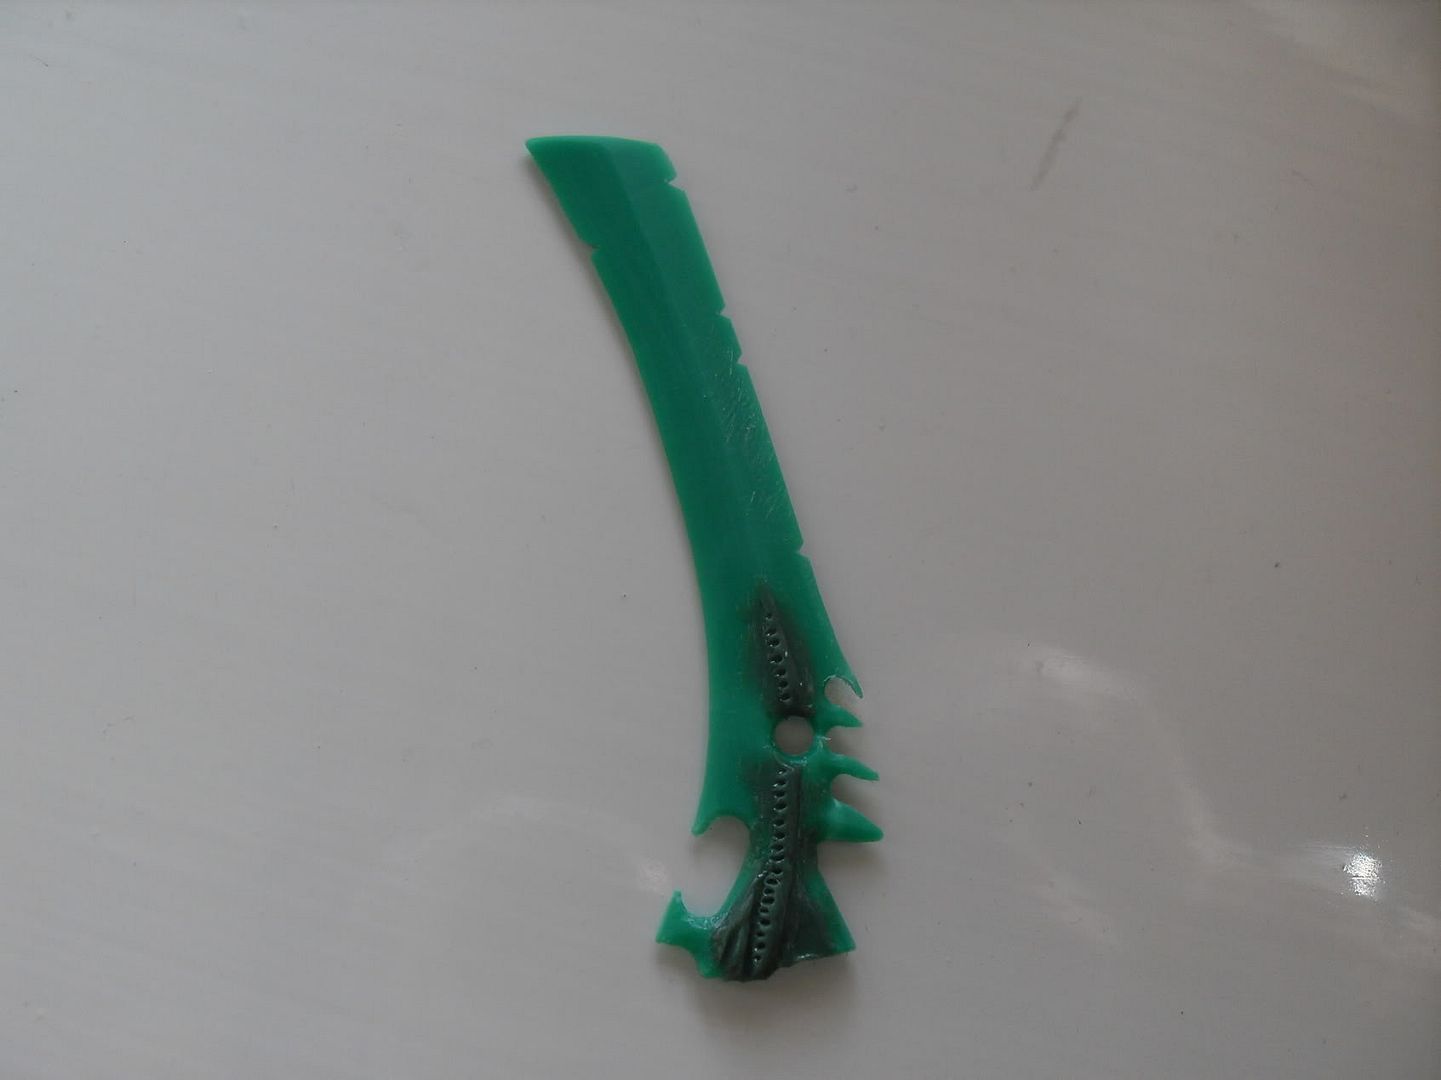
In other news I have made my fist RTV silicon mould and it will be ready to test on Sunday afternoon, fingers crossed it will work and I can start to produce my own parts like Boneswords etc!

Stay tuned and your comments are eagerly awaited!
Munky

Tuesday, 2 November 2010

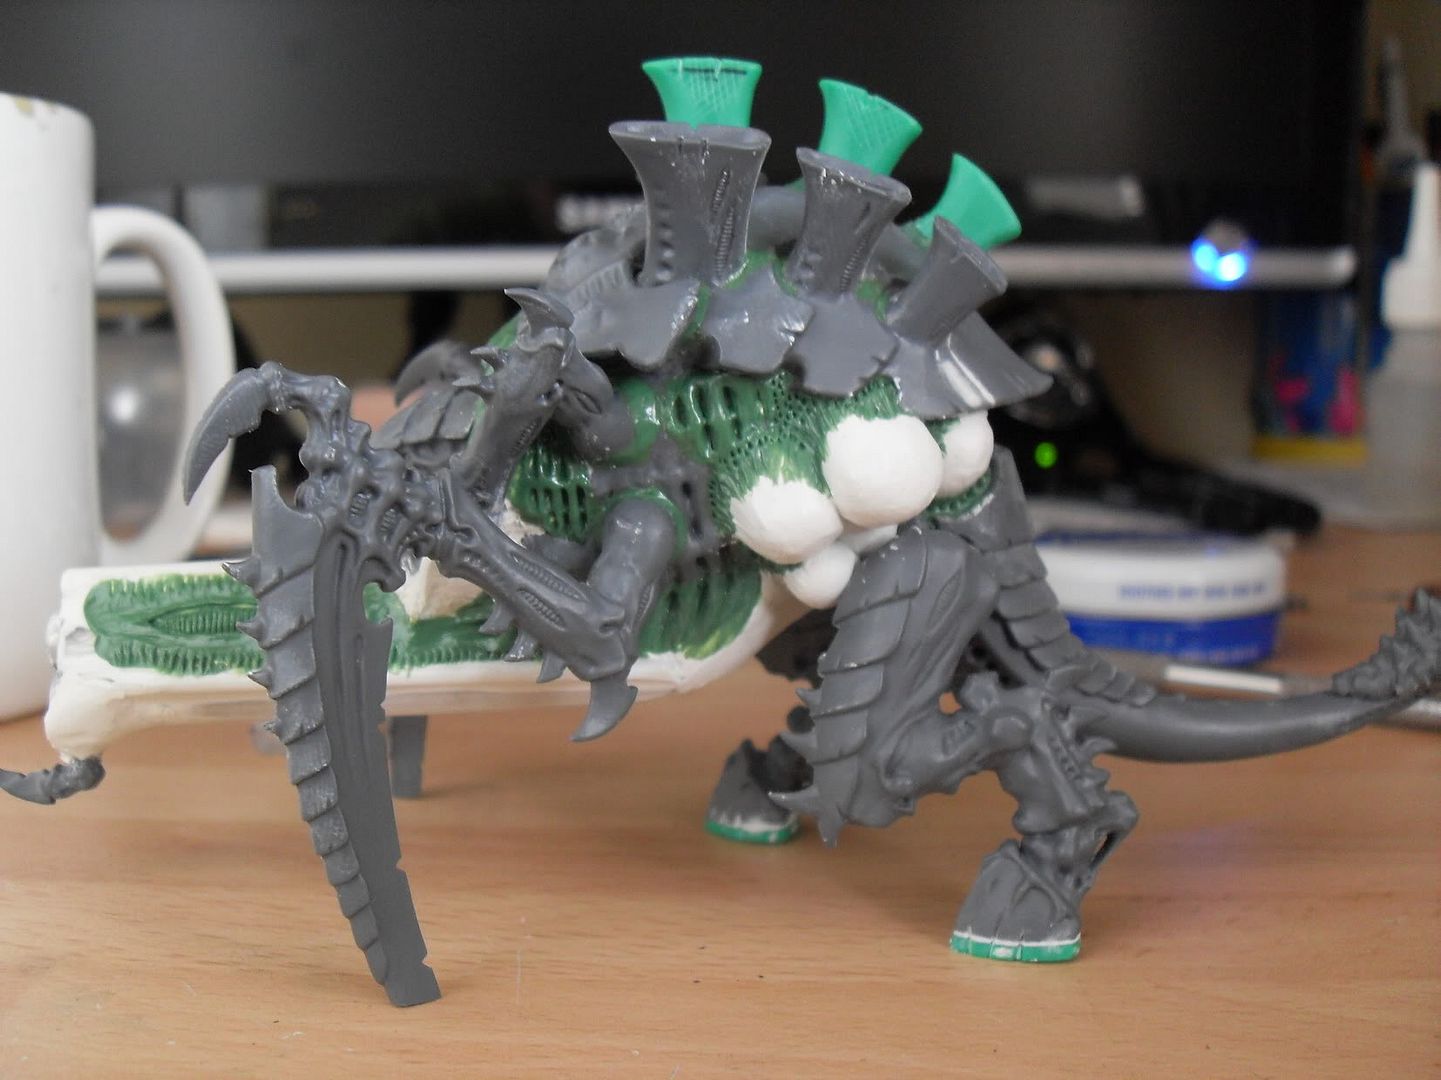
Tyrannofex part-1

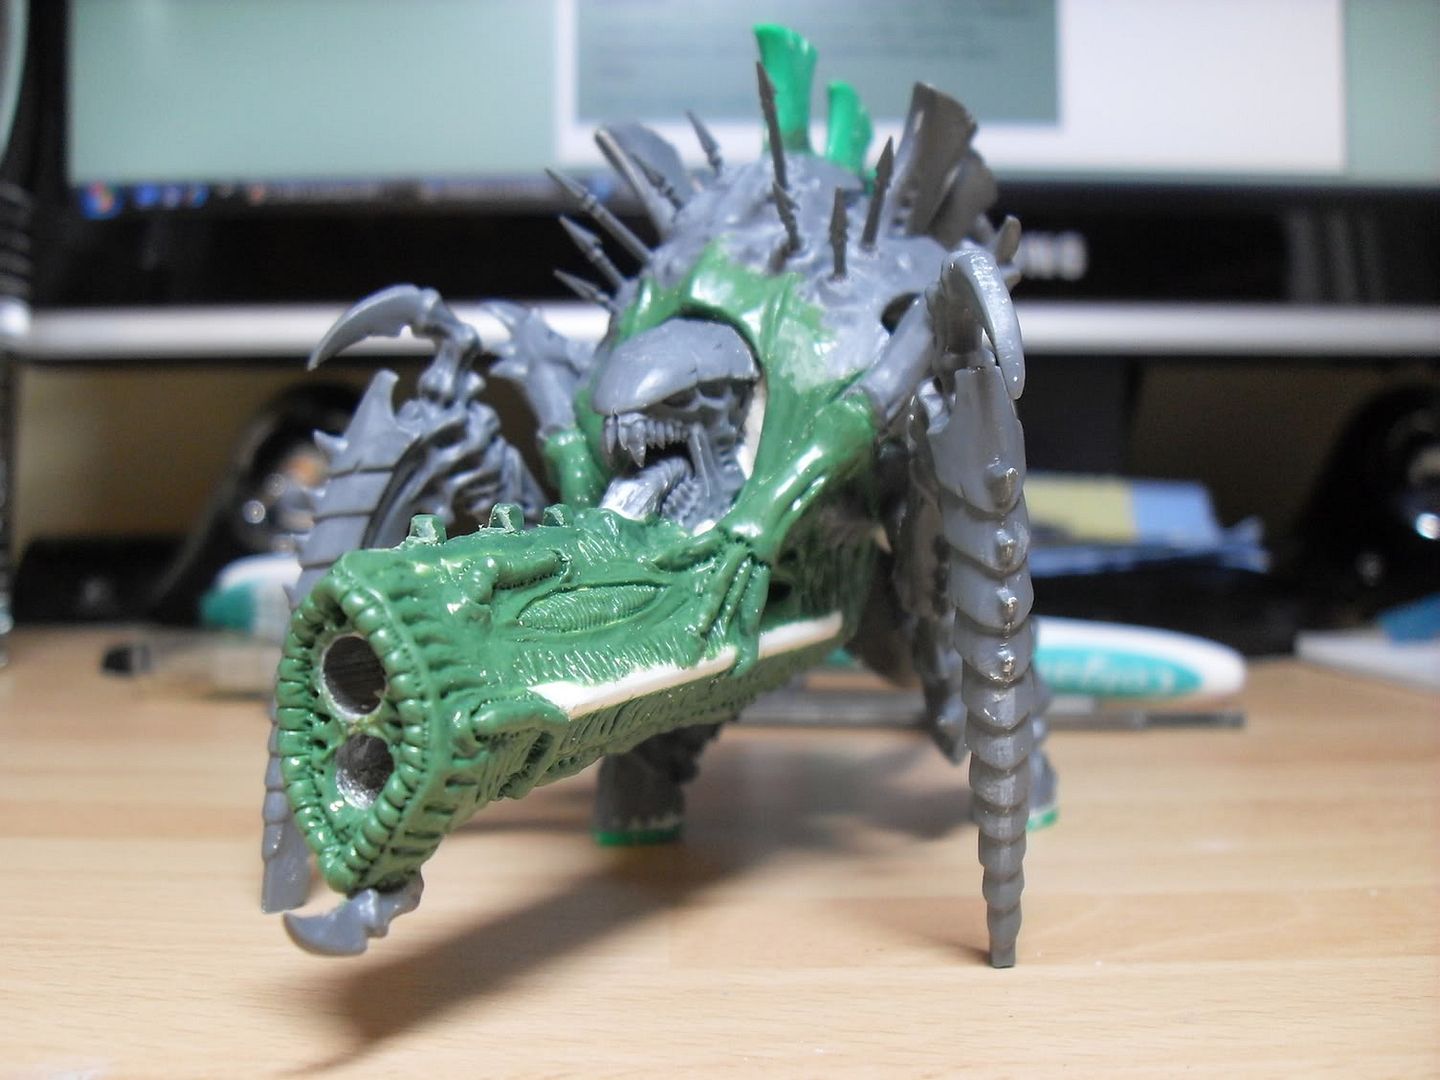
Hi everyone, I have made some progress on the Tyrannofex over the last few days as you can see.
It's still very WIP but I'm getting a feel for the shapes and detail needed on this monster.

It's been very difficult to get it all into the right pose but its getting there, though I am getting frustrated with waiting for putty to dry! I have resorted to leaving him in the airing cupboard ontop of the boiler to speed things up!
I have begun working on the Bonesabres for the Swarmlord which is next, I have ordered some casting supplies so I can hopefully cast four of the sabres, I certainly don't want to sculp/carve them one took me a few hours!
More on that in the coming weeks, I will post a tutorial on the casting process, I trained as a modelmaker at college and hopefully there is still some knowlege in the sponge I call a brain!

See ya all soon.
Thursday, 21 October 2010

Tyranid Prime II

Hello folks,
I am back from my holiday in Lanzarote, I had a very nice time with the wife and some friends and I will most certainly go back, the weather there was really nice compared to the miserable old UK!

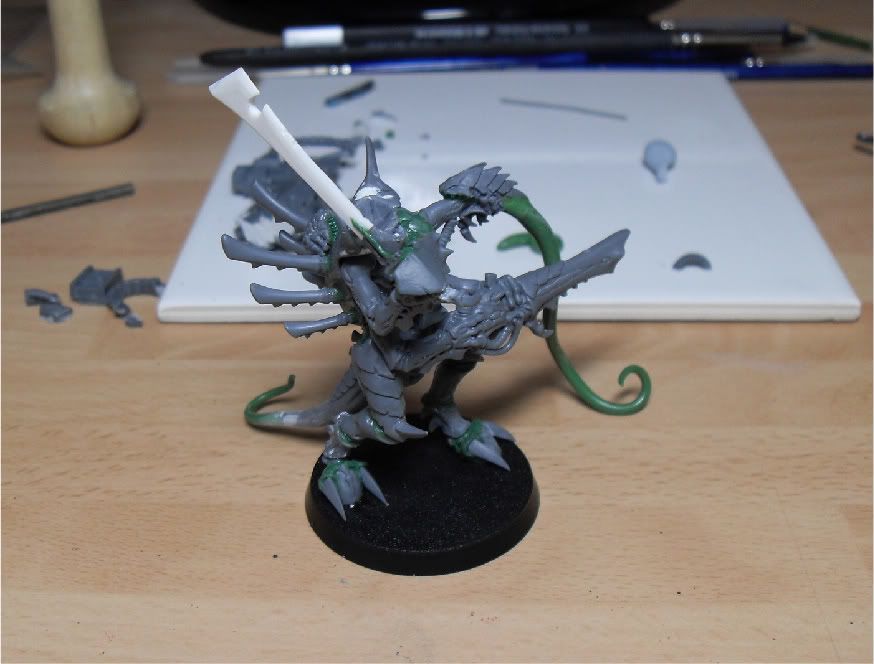
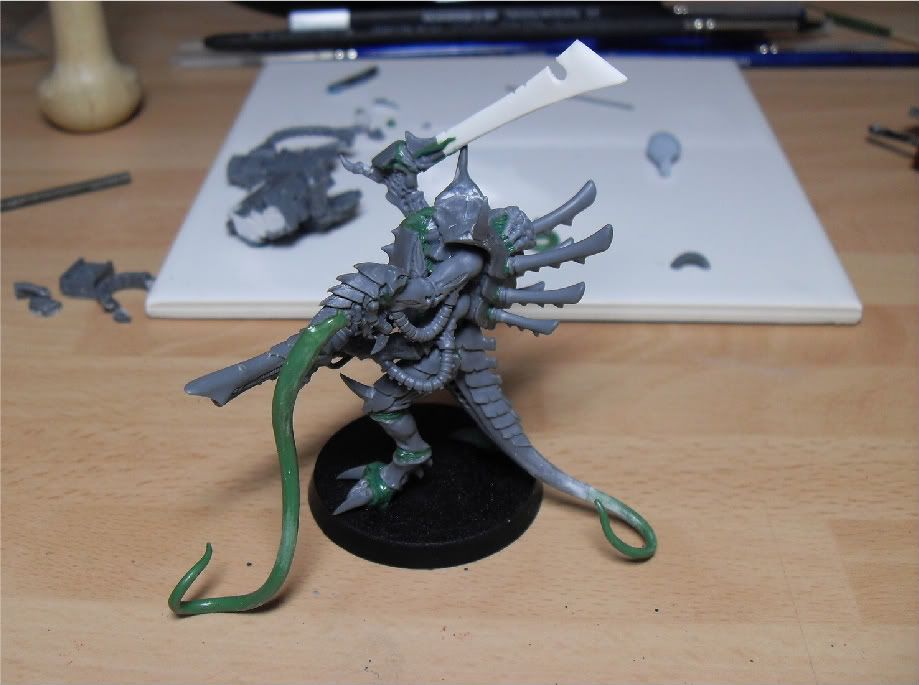
Enough about me, I have begun work on the second Tyranid Prime for Sandy in New Zealand, this one is being modelled with 2x Boneswords and Rending Claws and as such I decided to pose it charging across the battlefields in search of its next victim.

I will admit that posing a model with 6 limbs is interesting because you end up with 2 left after posing it running! very hard to figure them all out at once!

The Space Marine helmet on the base is a small nod to one of his opponents and will be painted to match their army, I decided to make a ruined wall on the base by cutting some balsa wood strip into "bricks" and Green stuffing the mortar in between.

The model as a whole is a little more streamlined than the first to show it's agile nature, I thought I'd add some mandibles as a small nod to the Raveners, and the little spikes from my Trygon kit are still coming in useful here and there.

Stay tuned for the complete model,  I expect to have it finished and painted by sometime next week, though I have a battle report being posted on Monday.

Monday, 27 September 2010

Tyranid Prime Part II

Hello again folks, sorry for the delay in posting but real life has been getting in the way a bit.
Still I have managed to get some more done on the Tyranid Prime I have completed the Greenstuff work on the body and legs and have sculpted a nice big Brain for him!
The head is made from a Warrior crest and a Genestealer face with some Greenstuff Brainz,

I followed this excellent tutorial from Hydra on how to make Boneswords and lashwhips, I actually used the lash whip idea to make the tail more interesting.

All I have left to do now is join the body and head with a suitable neck and its ready for paint.
I have started on the second Prime now I have the idea straightened out with this little fella.
Stay tuned for the painted version coming soon.